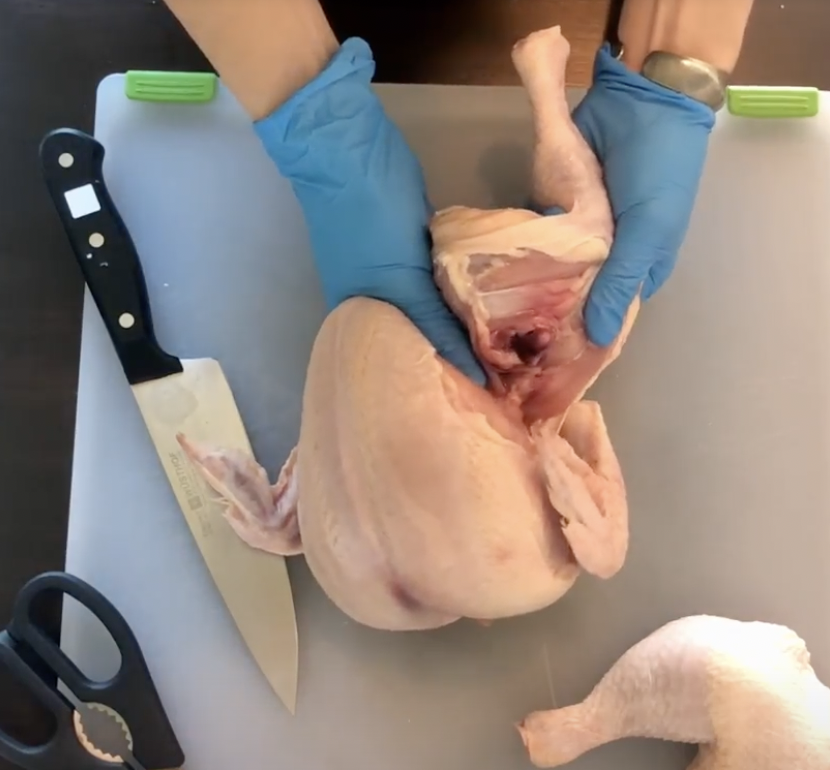
How to: Whole Chicken Breakdown (step by step photo demonstration)
This seems like a really intimidating kitchen skill. However, if you live alone, like to meal prep, or don’t eat a ton of meat often, this is a really economical way to get a ton of meals from a single product. Additionally, you have the added benefit of being able to make homemade bone broth. I like to wrap everything individually in plastic and freeze it, then just pull it out as needed.
Tools:
1 Whole Chicken
Sharp Knife
Kitchen Scissors
Cutting Board
Tips:
You’re going to want a very sharp knife for this, it makes everything much easier.
Before you even start, make sure the area you’re working on is clean.
Take a moment to look over the bird and identify the cuts we’re going to be making as we break it down.
I like to wear gloves while I do this, it helps make cleaning up a little easier in my opinion, optional though.
The joints and lines of fat will tell you where to cut naturally.
Step 1
Cut the skin that connects the thigh to the breast on both sides. This helps you access the joint.
Step 2
Take the thigh and pop the joint to release it, this makes it easier to get through it. This doesn’t take much force, just a bit of upward pressure. Do this to both sides.
Step 3
Make a firm downward cut between the bone and the joint to separate the thigh away. I like to keep the leg and the thigh in one piece, however, separating them is the same process.
Step 4
Next simply bend the wings backward gently to loosen them.
Step 5
Once again, making smooth, firm, downward strokes, cut the flat part of the wing away from the joint.
Step 6
Cut down along the ribs to expose the spine. A line of fat will tell you where you should cut.
Step 7
You can absolutely skip this step, but I like to do this so that the fat can be rendered and used in several applications. Pull away the skin from the breast and then around the back. This is a little tricky to get started, you might need to use the knife to get it going. Remove all the skin.
Step 8
Using the scissors, cut through the ribs to almost release the breast and drumettes.
Step 9
Keep making radial snips to remove the spine.
Step 10
Making a few cuts around the joint, slice down to remove the drummettes.
Step 11
Making long cuts, cut along the breast bone until the breast releases itself. You might run into the wishbone—that’s okay. Just cut closely along it and follow under until the breast comes off. Try to leave behind as little meat as possible.
You can save the bones for broth, see our upcoming bone broth recipe!
Recipe by Mary Hackett


